Quick Tips
- There are four different ways to update the JVC Smart TV.
- Roku TV: Home → Settings → System → System Update → Check Now → Update.
- Android TV: Home → Settings → Device Preferences → System Software Update → Update → OK.
- Older JVC TV: System → Settings → More → Software Upgrade → Scan for Upgrade → Upgrade.
- Using USB: JVC Website → Download ZIP file on PC → Extract the ZIP file on USB → Connect the USB to TV → Update.
JVC Smart TV comes in two different operating systems, Android TV OS and Roku TV OS. It provides software updates at regular intervals to boost the TV’s performance and to get new features. If you are using a JVC Smart TV, here is your comprehensive guide on how to update the TV to its latest firmware.
Update JVC Smart TV
The JVC Smart TV has specific ways to update the firmware, and they are,
- Roku TV OS
- Android TV OS
- Using USB Drive
- Older JVC Smart TV
How to Update JVC Roku TV
(1). Start the JVC Roku TV and connect it to the internet connection.
(2). Press the home button and select Settings on the menu.
(3). Click System on the Settings menu and select System Update.
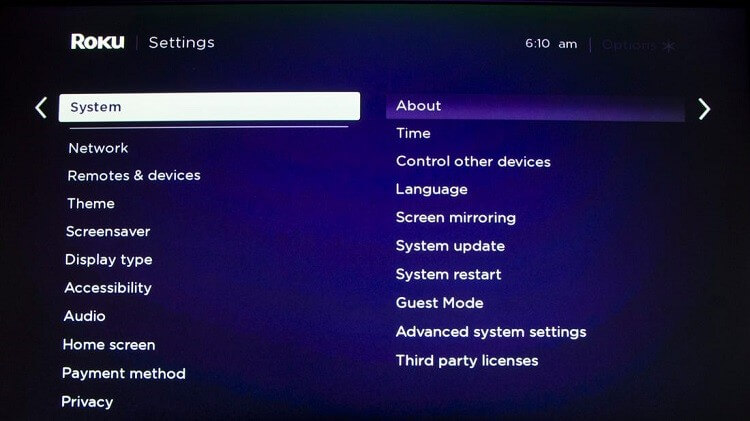
(4). Tap Check Now to look for the new update for the smart TV.
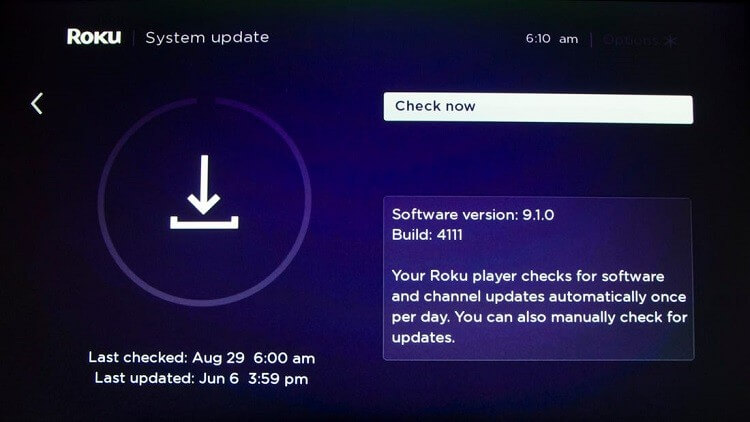
(5). Select Update to download the update and install the new firmware for the TV. By updating the Roku OS on your JVC Smart TV, the apps installed on your JVC TV will be updated automatically.
How to Update JVC Android TV
(1). Connect your JVC Android TV to WiFi and go to Settings on the home screen.
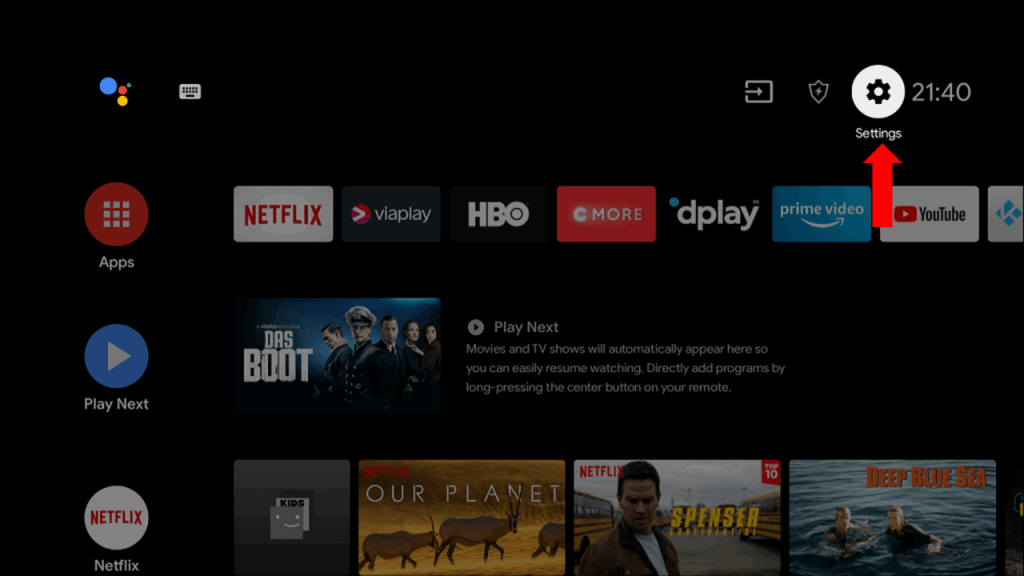
(2). Select the Device Preference on Settings and click About.
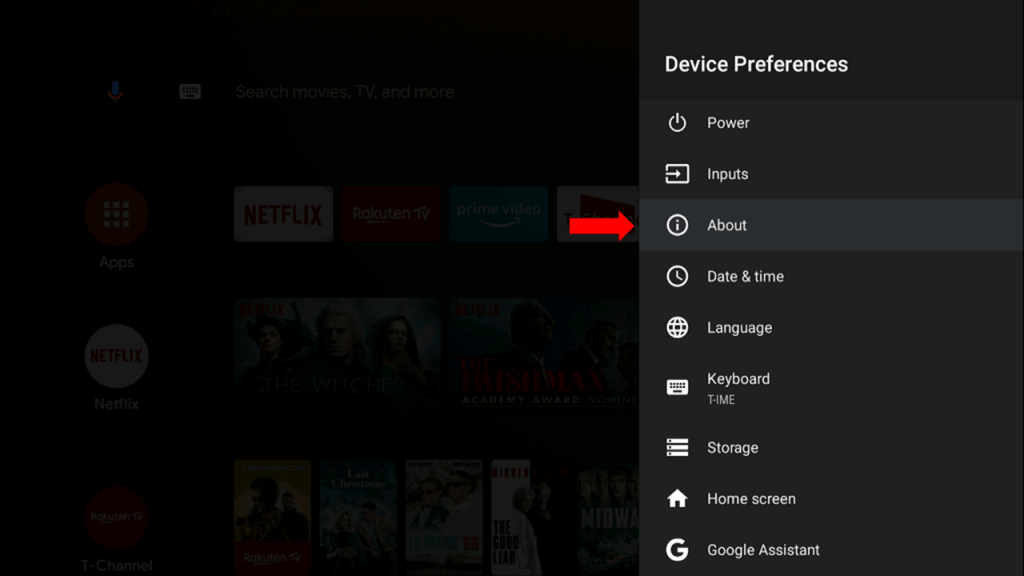
(3). Choose System Software Update and click Update to update the software.
(4). Tap OK in the Restart prompt, and it will restart the smart TV.
(5). After the restart, your TV will run on the latest firmware.
(6). If you want, you can enable Automatic Software Update to update the TV automatically.
How to Update Older JVC Smart TV
(1). Turn on the JVC Smart TV and click the System on the home screen.
(2). Swipe left and move to Settings in the System.
(3). Scroll down and select the More option. Click Software Upgrade.
(4). Select Scan for Upgrade and click Upgrade to update the JVC TV.
How to Update JVC Smart TV Using USB
In some models of JVC Smart TV, you can’t connect the TV to WiFi. For those models, you need to update the TV using your PC.
(1). On your PC, go to the JVC Smart TV support website.
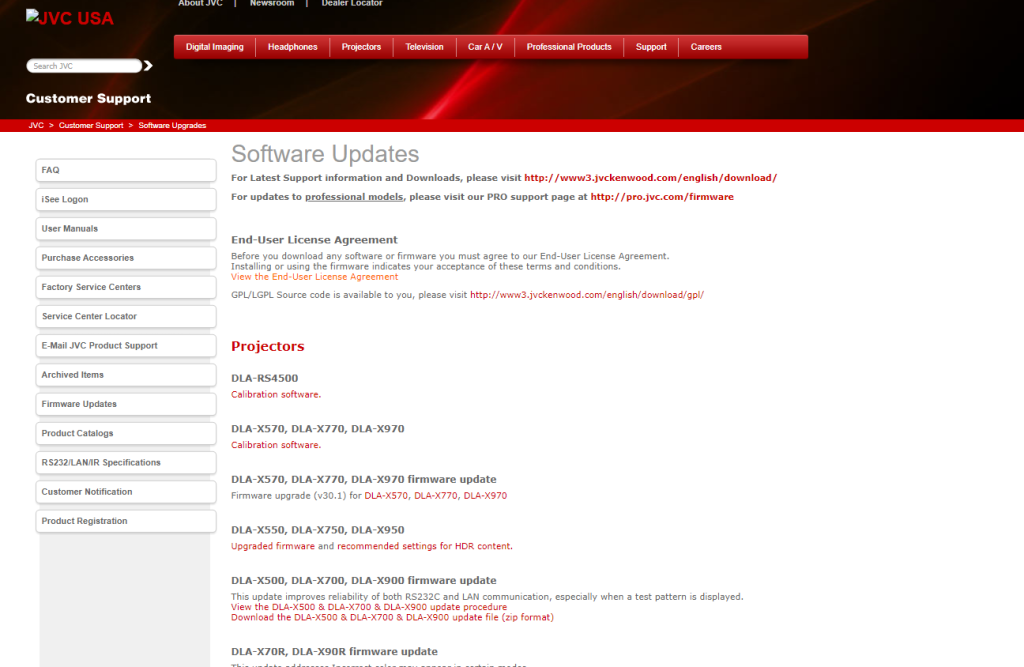
(2). Scroll down to the Television section and download the ZIP file on your PC.
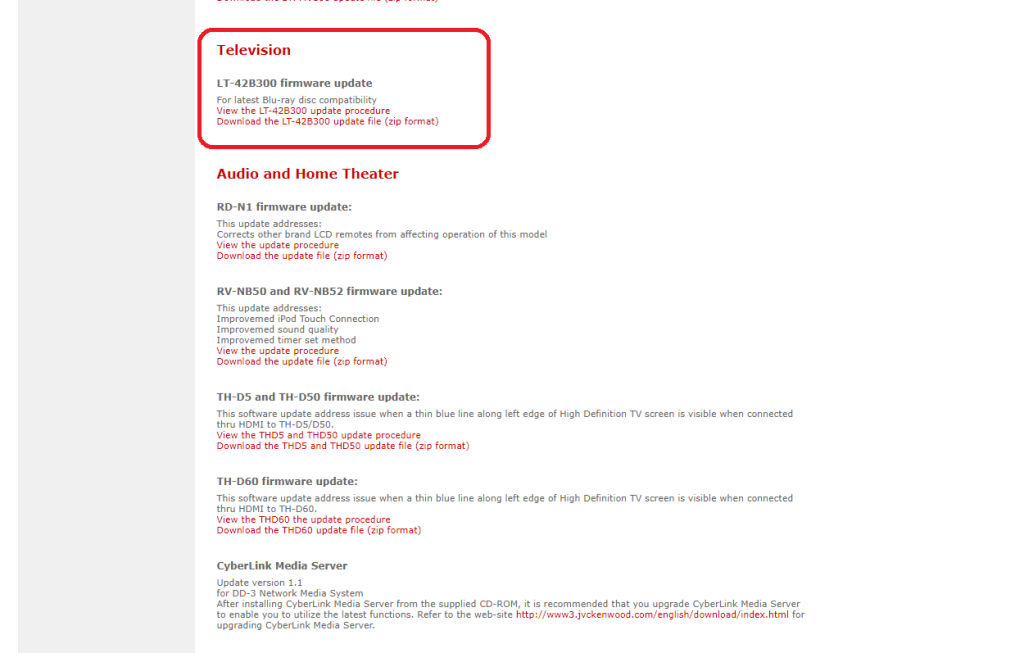
(3). Extract the ZIP file and copy-paste the file to a USB drive. Make sure that the USB drive is formatted.
(4) Now, turn off the TV and insert the USB drive into your TV. You can find the USB port on the front or back side of the TV.
(5) Then, turn on the TV and go to the System Setup menu.
(6) Select the Firmware Update option. In some models, you need to click the System Update option.
(7) If any confirmation screen appears, tap the OK button.
(8) Now, your TV will automatically detect the USB and install the new update.
(9) When the update is installed, your TV will restart. After the restart, you can use the TV in the latest version.
Thus, we have discussed the procedure to update the smart TV. It also provides more facilities for customization and integration with other devices. Kindly share the queries in the comments section below.



Leave a Reply