Quick Tips
- You can connect your JVC Smart TV to WiFi in two ways.
- Android TV: Home → Settings → Network → Set up Connection → Wireless → Choose Network → Password → OK.
- Roku TV: Home → Settings → Network → Set up Connection → WiFi Network → Password → Connect.
- Wired: Use Ethernet cables.
Every Smart TV must be connected to a WiFi network to get all the features and to stream movies from apps. In JVC Smart TV, you can connect to a WiFi network in two ways. You can use the built-in WiFi module or the Ethernet cable to get an internet connection.
How to Connect JVC Android TV to WiFi
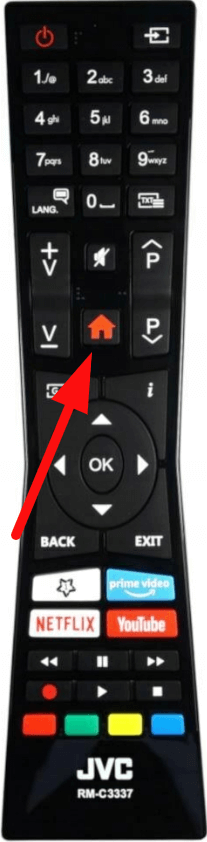
1: Turn on your JVC TV and press the Home button.
2: On the home screen, scroll down and select the Settings option.
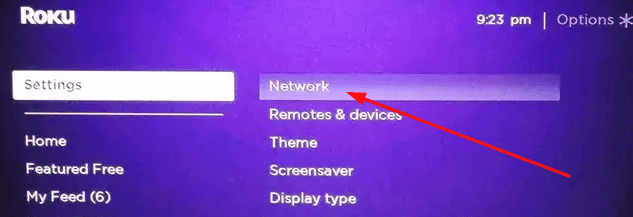
3: Navigate and select the Network option.
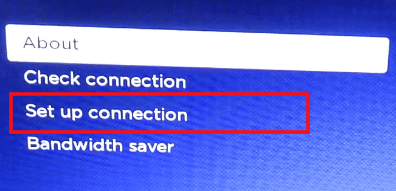
4: Select the Set up connection option.
5: In the next step, navigate to the Wireless option and press OK on your remote. Now your TV will scan for WiFi networks.
6: In the scanned WiFi networks, use the navigational keys and select your WiFi network.
7: Enter the password and press Connect button.
8: Now your TV is connected to the WiFi connection.
9: You can stream all the videos from the streaming apps and browse the internet.
How to Connect JVC Roku TV to WiFi
1: Using the Roku remote, press the Home button on the remote.
2: Scroll down and select the Settings option.
3: Press the right navigational button and select the Network option.
4: Under the Network option, select the Set up connection option and click on the Wireless option on the right.
5: Now, your TV will scan for a WiFi connection near you.
6: Select your WiFi connection and enter the password.
7: Then, tap the Connect button. This will connect your Roku TV to an active WiFi connection.
How to Connect JVC TV to WiFi [Old Models]
If you are using old models of JVC TVs, then the steps differ to connect it to a WiFi connection.
1: Turn on your TV and press the Menu button on your remote.
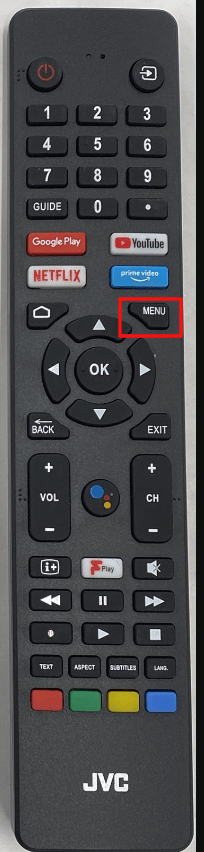
2: In the list of options, select the WiFi option on the top.
3: On the WiFi option, select the SSID option to scan for WiFi networks.
4: Select the WiFi network you own and press the OK button to connect your TV to a WiFi connection.
You can connect the internet to your JVC TV using streaming devices like Firestick, Apple TV, and Google TV.
How to Connect JVC TV to WiFi: Wired Method
Using the Ethernet cable to connect the TV to WiFi is the easiest method. Get an Ethernet cable and connect one end to the router. Then, the other end to the JVC TV. On the confirmation pop-up, click the OK button to access the network connection on your JVC TV.
How to fix JVC Smart TV not connecting to WiFi error
If your JVC TV is not connecting to the WiFi, then you can perform troubleshooting steps on your router and on your TV. You can check the router connection and restart the router to fix temporary issues. For a wired connection, make sure that the Ethernet cable is not damaged. If you are using the older version of JVC Smart TV, you might have some issues with the WiFi connection. Update your JVC Smart TV to fix the issue.
FAQs
By using the JVC TV remote app, you can connect WiFi to your TV without using a remote.